Go to Setup > Global Options > Credit Notes/Gift Vouchers tab > Credit Notes.
Receipt Message
This area is used to input the conditions you want to inform customers of when issuing Credit Notes.
This message can be very long if required, but will print out on the receipt each time.
Print Credit Notes on Receipt Printer
Toggle this option if you would like the Credit Notes you issue to print to the default Receipt Printer.
Automatically create Credit Note Codes
Toggle this option to create a unique identifier code that Idealpos uses to track use of this Credit Note.
Credit Notes can be redeemed at any Site.
Toggle this option to allow customers to visit any store you own to receive goods.
This is based on you using Sites for each different store location.
Customer Type
Customers who receive a Credit Note are automatically added to your Customer database for tracking purposes.
This enables you to add them to a specific type to keep them organised.
Expiry Days #
This will determine how many days you will accept Credit Notes to be used for from the date of issue.
Credit Notes that are partially used will be re-issued with the same due date from the original.
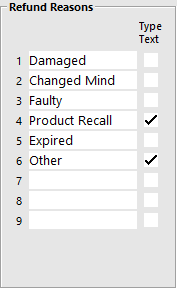
Reason 1 – 10
Enter the different reasons that a customer has for returning an item and not receiving a refund.
You only need to enter 1 reason.
You can now attribute reasons to Refunds for reporting purposes.
You can have up to 9 different reasons and select to Type Text which will force the operator to enter additional details for the item.
Go to Setup > Global Options > Sales > Refund Reasons.
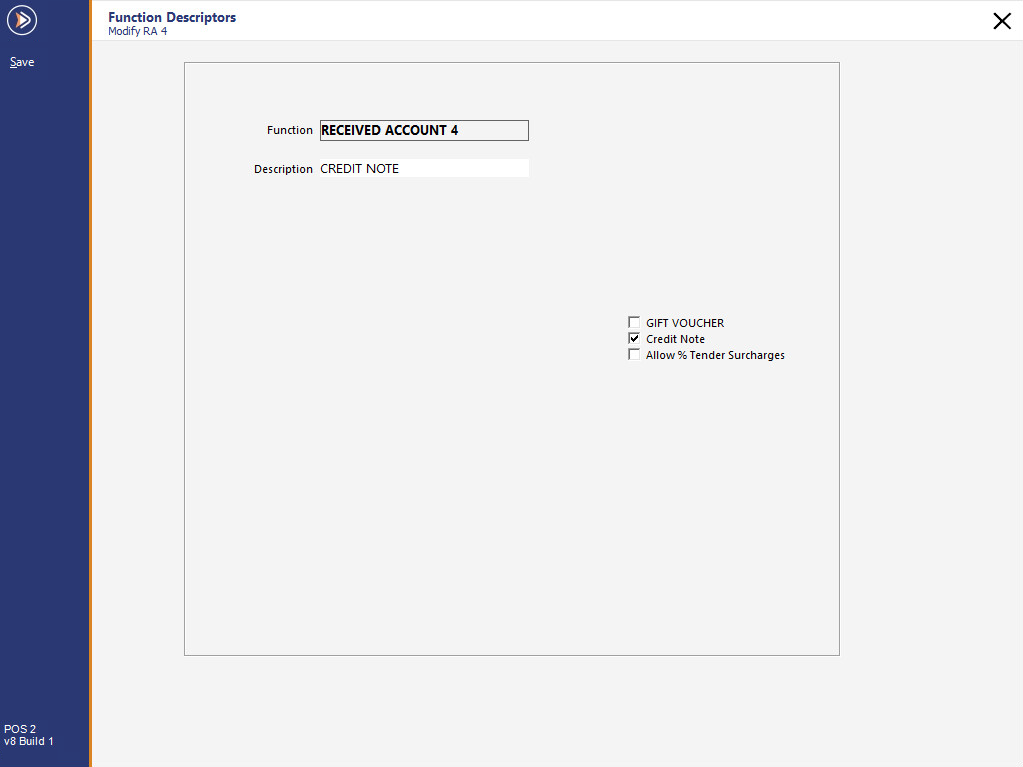
Go to Setup > Functions > Received Account (4) > Modify > change Description to Credit Note > select Credit Note option > Save.
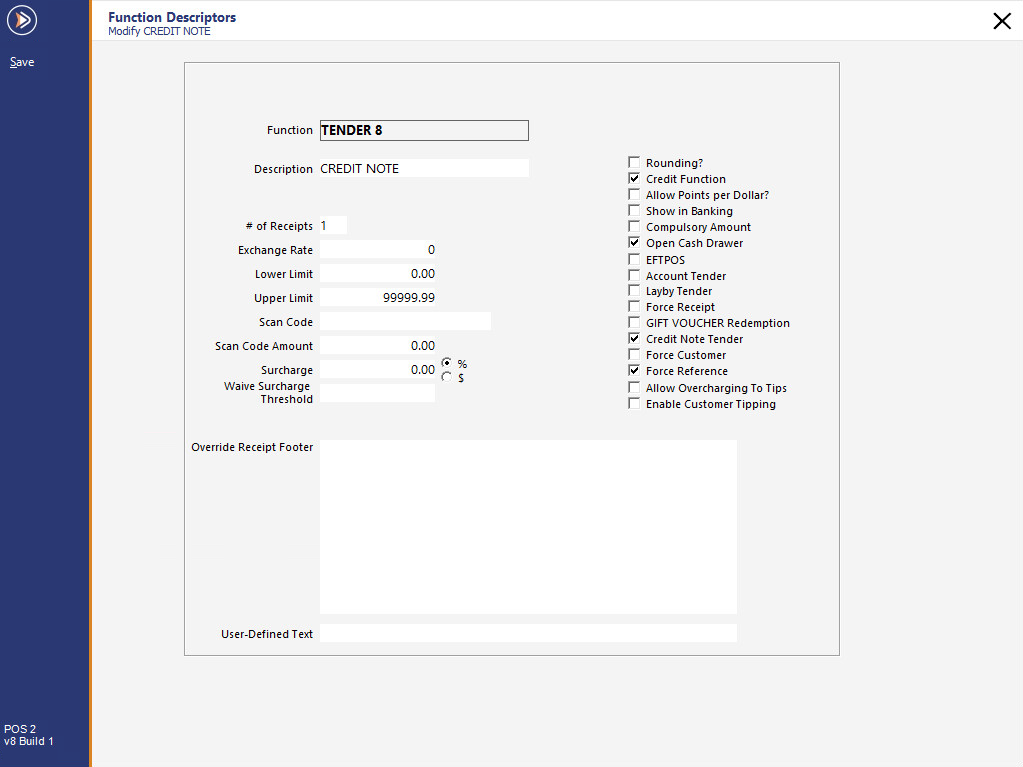
Go to Setup > Functions > Tender (select one) > Modify.
Enable the following options:
You can also enable the Force Reference option if you want to force the Clerk to enter a reference when tendering using the Credit Note.
Press "Save" to apply the changes.
Go to Setup > Yes/No Options > Tender
You will need to enable the Credit Note Tender for use when a customer wants to use one to buy another item.
This option is located on the Tender tab.

If you want to give Cash Out when using this tender, you will need to enable it from the Tender tab.

Go to Setup > Yes/No Options > Receipt/Kitchen > Don’t Send Refunds to Kitchen Printers.

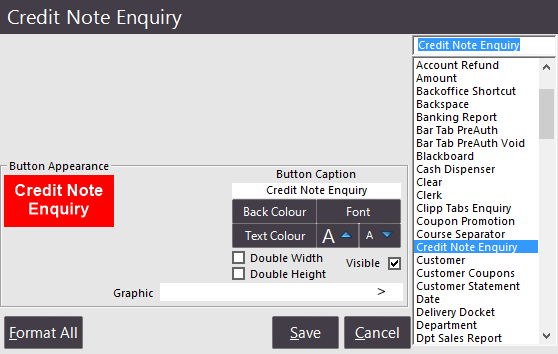
Go to Setup > POS Screen > Layouts > Buttons > select Credit Note Enquiry.
This will bring up the details on the POS Screen in regards to the Credit Note.
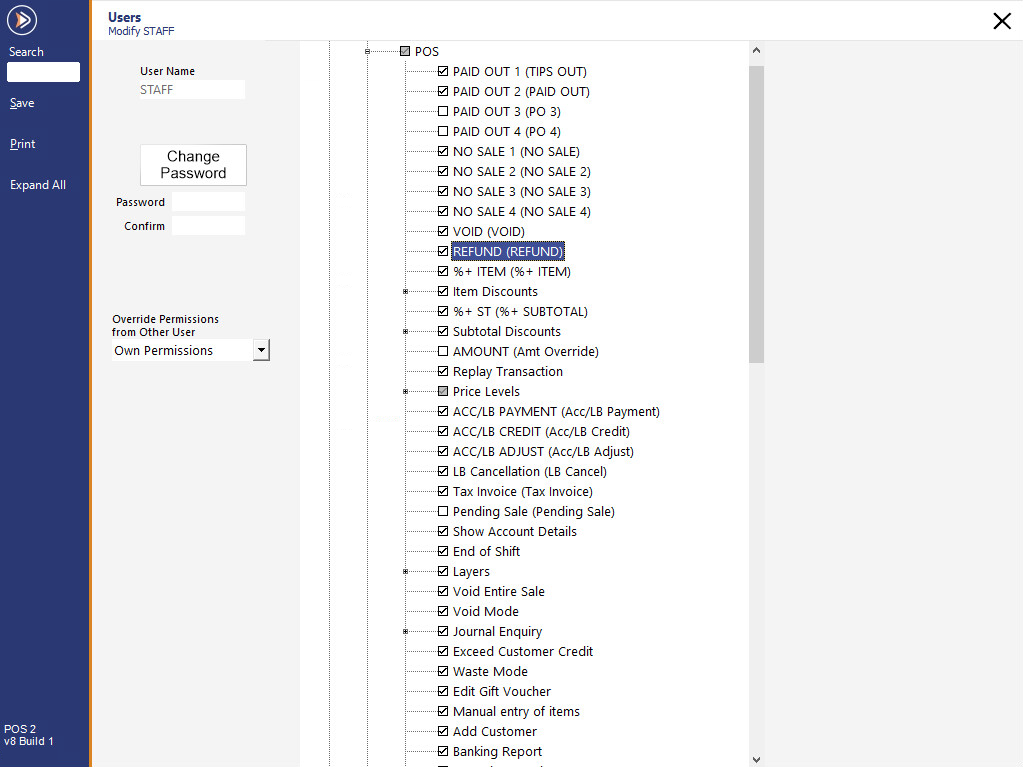
Clerks that are not Admin are linked via User Permissions.
Go to Setup > Users > Modify > Clerk Permissions > POS.
Toggle the following options as required: